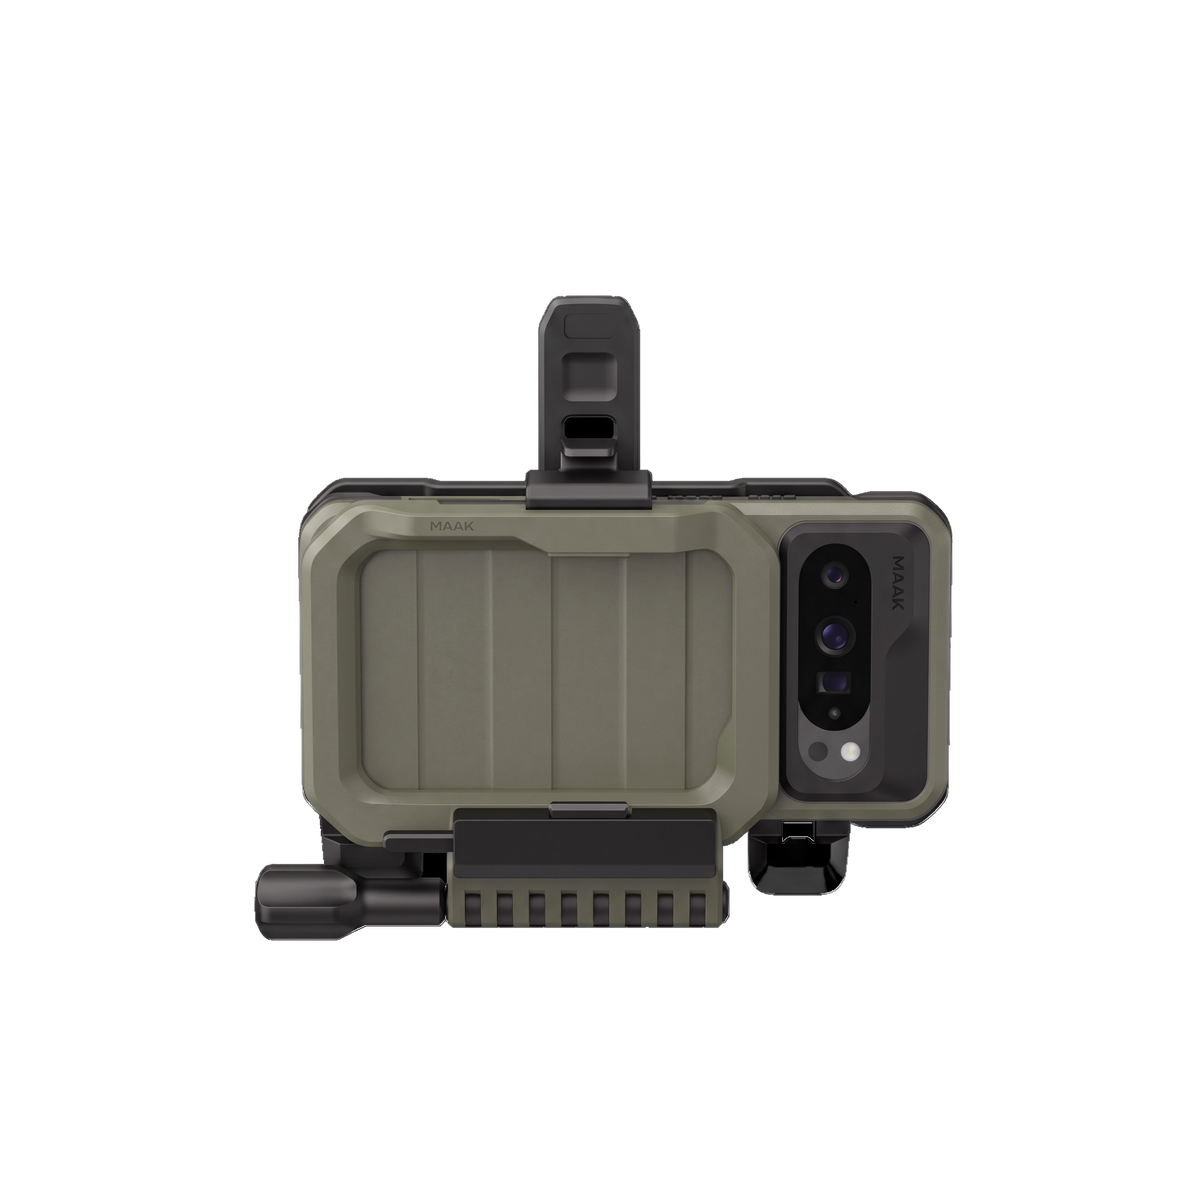
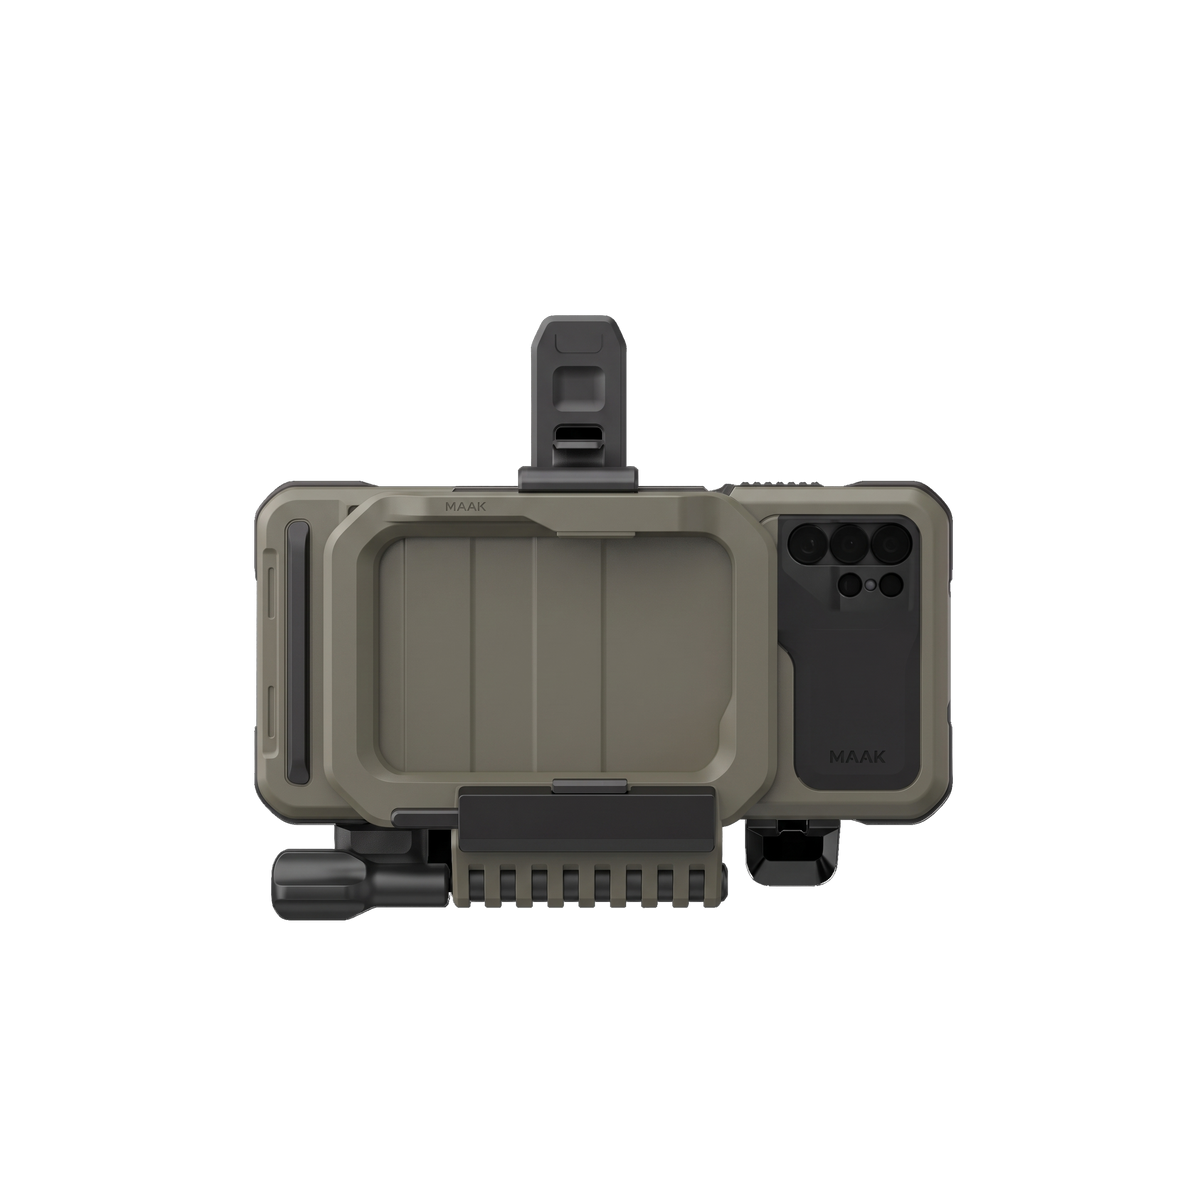
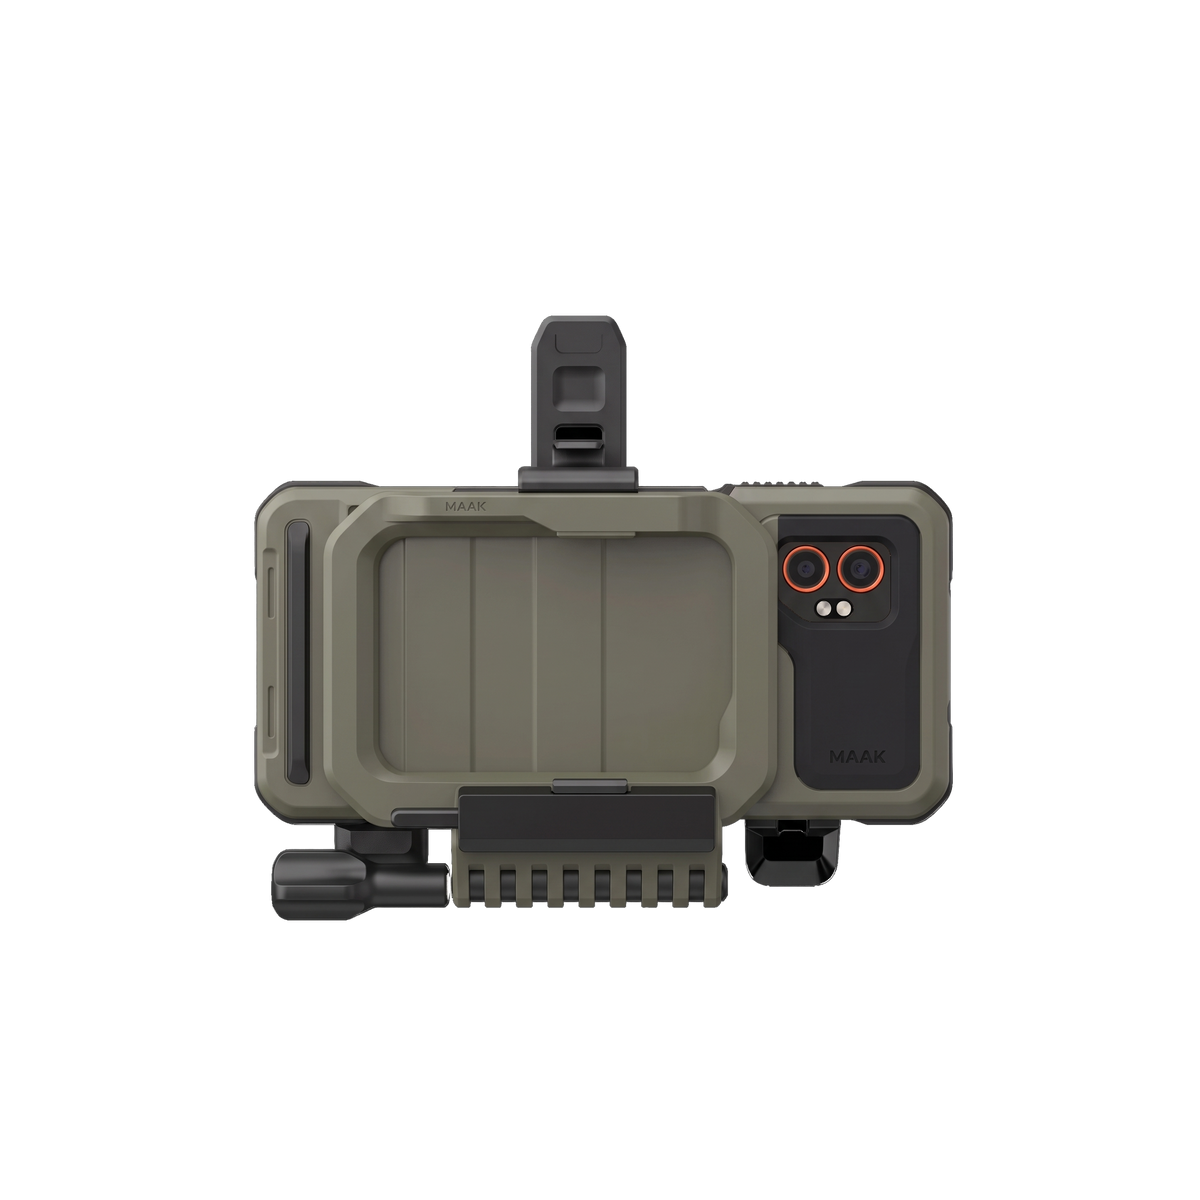
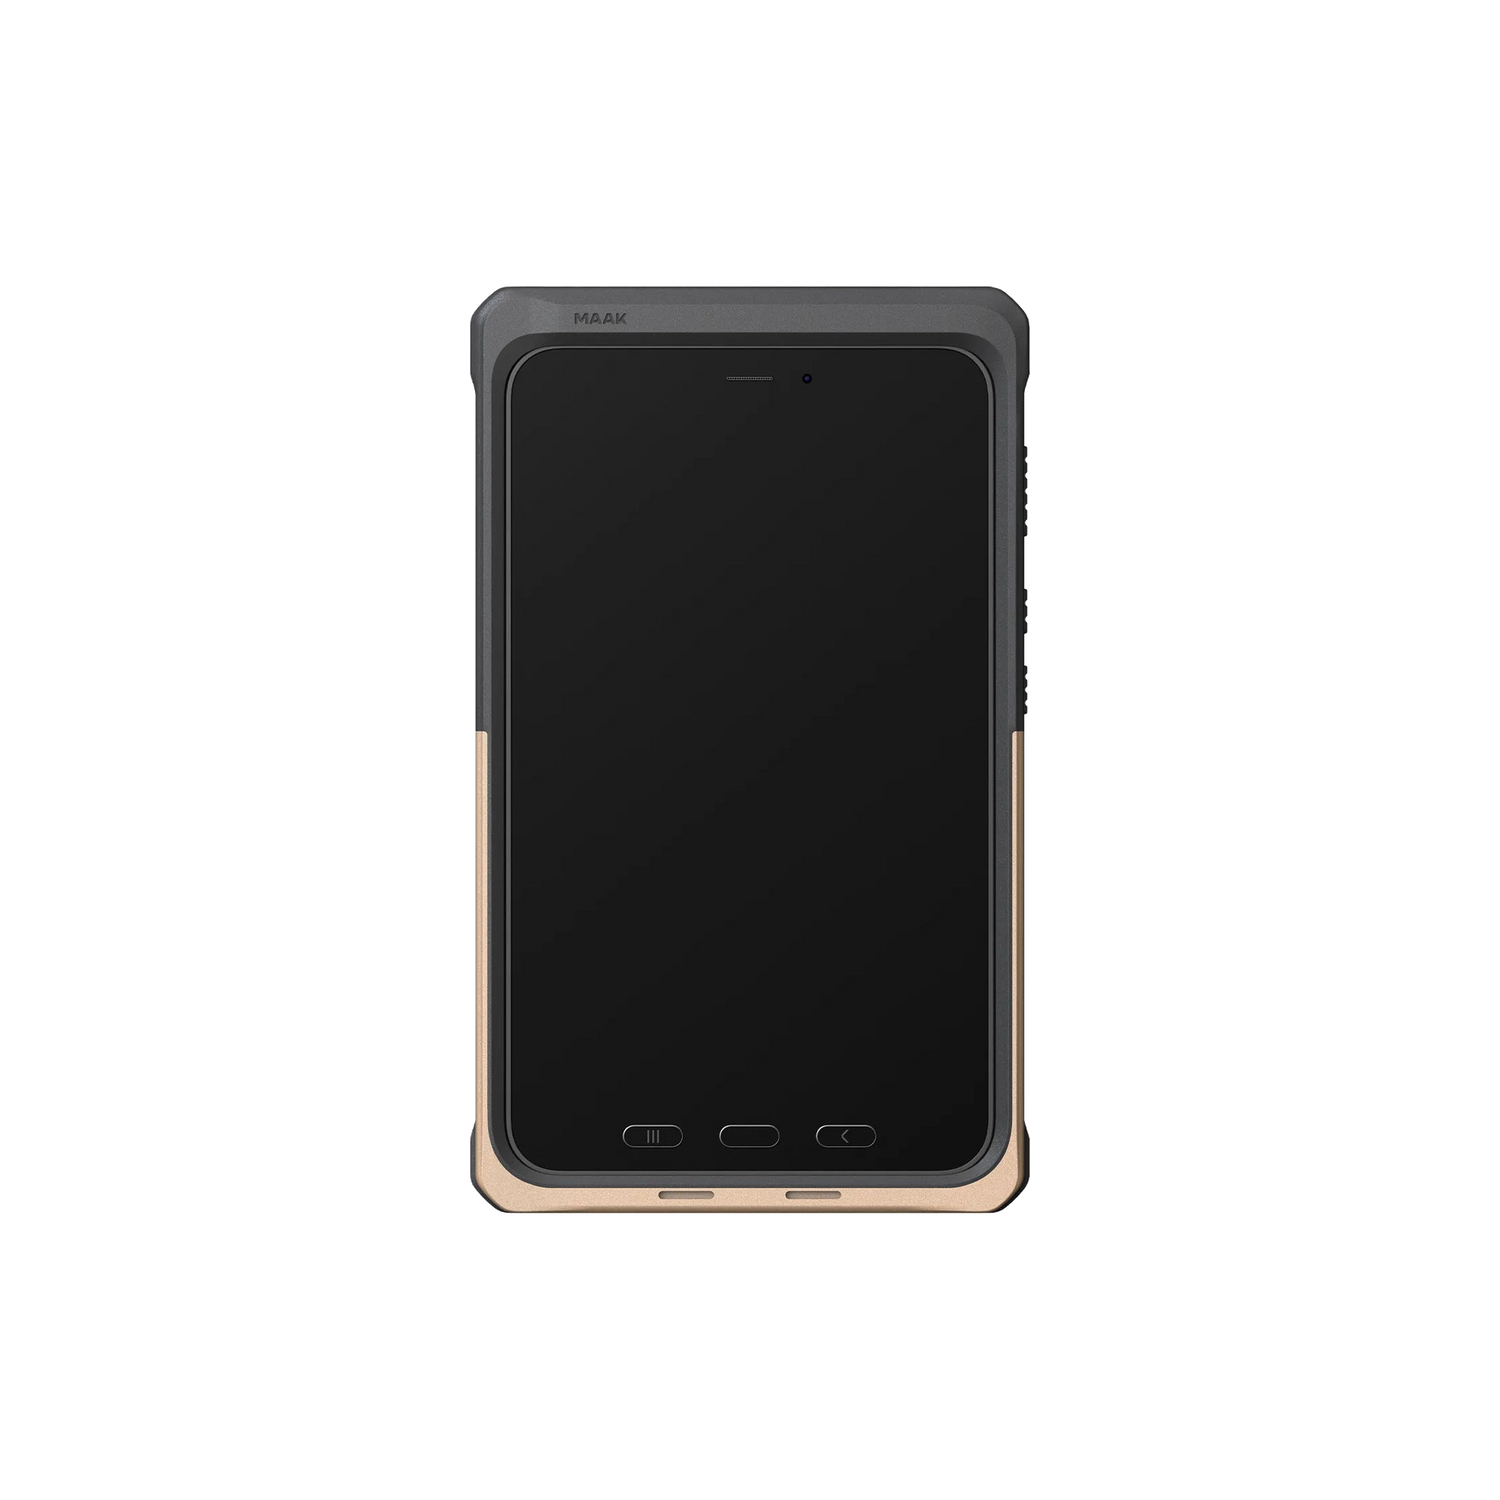
Update RIDAR-U firmware
Update RIDAR-U directly from your EUD using the RIDAR ATAK plugin. The firmware is included in the plugin, so there is no separate firmware file to download.
Before you start
Install the latest RIDAR plugin, plug RIDAR-U into your EUD with a USB data cable, and connect to it in RIDAR. Check that the header shows USB. Keep RIDAR-U plugged in throughout the update.
1. Hold the Connect button
In the RIDAR header, press and hold the Connect button to open the firmware menu. It is the connection icon immediately to the left of the red X. Use it even when connected; a short tap disconnects, so hold it instead.

2. Choose the RIDAR-U update
Tap Update RIDAR-U OTA (Recommended, v…), then tap Update in the confirmation dialog. The version number depends on the firmware bundled with your plugin.


3. Let the update finish
Leave RIDAR-U connected while the plugin updates and verifies its firmware. Progress may pause during the final stage—keep it plugged in. If Android asks for USB access after the receiver restarts, tap OK or Allow.
The plugin reconnects when the update finishes. Confirm that the RIDAR-U version under the header matches the version you selected. You’re all set.
Screenshots: EUD X7P, RIDAR plugin 1.18.0, firmware option 1.8.4. Your version number may differ.